
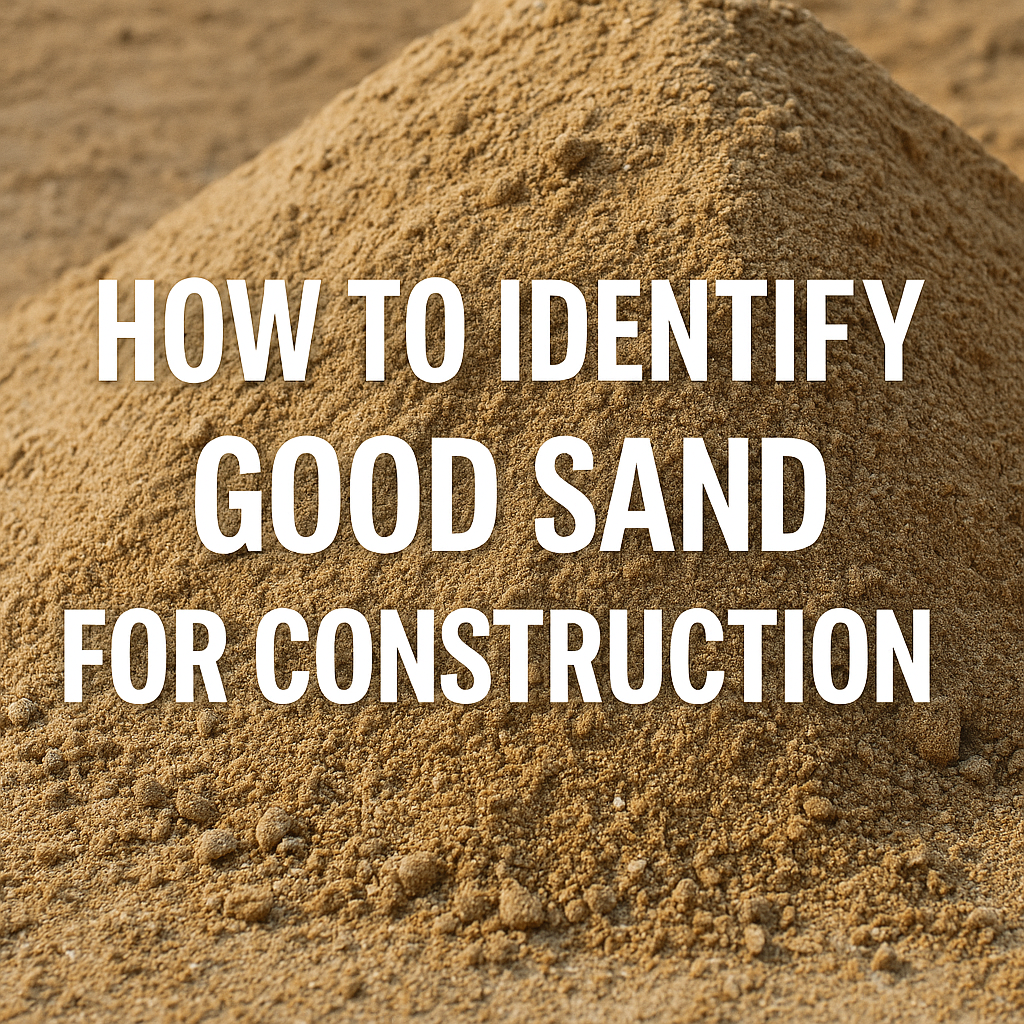
Sand is one of the most important materials used in every stage of building construction — from block molding and concrete production to plastering, rendering, and finishing. Yet, many construction failures happen because the wrong type of sand was used.
Poor-quality sand can weaken concrete, cause cracks, reduce durability, and even lead to structural collapse. For a beginner, student, homeowner, or site worker, learning how to identify good sand for construction is a skill you must have.
This guide explains everything you need to know in simple human language, including pictures you can imagine, real-life examples, practical field tests, lab tests, and a complete comparison between good and bad sand.
Let’s build from the core.
What Is “Good Sand” in Construction?
Good construction sand is sand that is:
-
Clean — free from clay, silt, and organic matter
-
Well-graded — has a mix of small and medium particles
-
Angular and sharp — so it interlocks well in concrete
-
Free from salt — especially in coastal areas
-
Strong — gives high-quality concrete and blocks
-
Durable — does not break down easily
-
Moisture-balanced — not overly wet or dry
Using good sand ensures:
-
Strong walls
-
Solid foundations
-
Durable concrete
-
Smooth plastering
-
Long-lasting structures
Bad sand, on the other hand, is one of the top 5 causes of building failure in many developing countries.
Why Sand Quality Matters (More Than Most People Think)
Sand affects:
1. Strength of concrete
Concrete reaches full strength only when sand is clean and well-graded.
2. Durability of block walls
Blocks molded with bad sand become weak and crumble.
3. Plastering quality
Poor sand results in cracks, peeling, and uneven surfaces.
4. Structural safety
Clay-rich sand can absorb water and weaken structural elements.
5. Cost of construction
Bad sand increases cement consumption — meaning more cost.
Ignoring sand quality is a mistake many people make — one that can cost lives and millions.
Types of Sand Used in Construction
Before identifying good sand, you must know the basic types:
1. Sharp Sand (Coarse Sand)
-
Angular grains
-
Best for concrete
-
Found in rivers and pits
2. River Sand (Fine Sand)
-
Smooth, rounded grains
-
Ideal for plastering and blockwork
-
Very clean
3. Stone Dust (Crushed Sand)
-
Crushed from rocks
-
Good for block molding
-
Needs to be washed
4. Sea Sand
-
Contains salt
-
Not recommended unless desalinated
5. Pit Sand
-
Found underground
-
Usually reddish (contains clay)
-
Needs testing
Now let’s get into how to identify which one is good.
How to Identify Good Sand for Construction (12 Reliable Methods)
Below are tested and trusted methods, including local field tests you can perform without equipment.
1. Check the Color of the Sand
Color reveals a lot about sand quality.
✔ Good Sand Color:
-
Light brown
-
Off-white
-
Clean grey
-
Slight yellow (river sand)
✖ Bad Sand Color:
-
Deep brown (too much clay)
-
Red or orange (high iron/clay content)
-
Blackish (organic impurities)
-
Greenish/blueish (contamination)
Tip:
Sand used for plastering should be lighter and more uniform in color.
2. The Texture or Feel Test (Palm Test)
Pick a handful of sand, rub it between your palms.
✔ Good Sand Feels:
-
Gritty
-
Sharp
-
Rough
-
Free-flowing
✖ Bad Sand Feels:
-
Sticky (indicates clay)
-
Smooth/slimy (high silt content)
-
Powdery (poor grain structure)
If it sticks to your fingers or leaves stains, reject it.
3. The Sedimentation Test (Bottle Test)
A Field Test Every Builder Should Know
Materials Needed:
-
Plastic bottle
-
Water
-
Sand sample
Steps:
-
Fill the bottle with 50% sand.
-
Add water to the top.
-
Shake vigorously for 30 seconds.
-
Leave it for 3 hours.
Results Interpretation:
| Observation | Meaning |
|---|---|
| Water becomes clear | Good sand |
| Small layer of silt | Acceptable |
| Thick brown/black layer | Reject sand |
| Floating organic matter | Very bad sand |
If silt/clay content is above 6%, the sand is unsuitable.
4. Check for Clay Lumps
Clay appears as small hard lumps that break easily when squeezed.
✔ Good sand:
Does not contain clay lumps.
✖ Bad sand:
Has plenty of sticky or brittle lumps.
Clay reduces strength and increases cement usage.
5. Organic Impurity Test (Smell + Color Test)
Organic matter weakens concrete and block strength.
Steps:
-
Put sand in a jar.
-
Add water.
-
Leave for 24 hours.
Results:
-
Clear or slightly yellow water → Good
-
Dark brown or tea-colored water → Bad
Organic-rich sand smells earthy or rotten.
6. The Salt Content Test (Very Important for Coastal Areas)
Salt corrodes reinforcement (iron rods), causing structural failure.
Quick Tests:
-
Taste a tiny bit of sand (slightly salty = reject).
-
Check for white patches when sand dries (efflorescence).
-
Rub between fingers — salty sand feels slightly slippery.
Sea sand must NEVER be used without proper washing.
7. Grain Shape Test (Visual Inspection)
Good sand grains are:
-
Angular
-
Sharp
-
Rough
-
Interlocking
Bad sand grains are:
-
Rounded
-
Polished
-
Too fine
-
Powdery
Rounded sand reduces concrete strength drastically because it cannot bond well.
8. Check Moisture Content
Too much moisture leads to:
-
Poor batching
-
Incorrect sand-cement ratio
-
Weak mixes
Good sand should be slightly moist but not wet or soaking.
9. Bulking of Sand Test (For Concrete Production)
Bulking happens when sand swells due to moisture.
Simple Test:
-
Fill a container with moist sand.
-
Fill another with dry sand.
-
Compare volumes.
If the difference is too large (above 20–30%), the sand needs drying or moisture adjustment before batching.
10. Sieving Test (Field Method)
Use a simple sieve to examine grain size.
Good sand:
Has a mix of particle sizes (well-graded).
Bad sand:
All grains are the same size (poorly graded).
Well-graded sand produces stronger concrete.
11. Weight Test (Density Check)
Good sand feels heavier because it has fewer impurities.
Bad sand feels:
-
Light
-
Fluffy
-
Airy
Clay and silt reduce density.
12. Professional Laboratory Tests (For Large Projects)
If the project is large, lab tests are recommended:
-
Silt content test
-
Specific gravity
-
Fineness modulus
-
Organic impurity test
-
Grain size distribution
-
Bulking of sand
-
Moisture content test
But for small projects or quick decisions, field tests are enough.
Comparison Table: Good Sand vs Bad Sand
| Property | Good Sand | Bad Sand |
|---|---|---|
| Color | Light & clean | Dark, reddish, dirty |
| Texture | Gritty & sharp | Sticky or smooth |
| Impurities | Very low | High clay, silt, organic |
| Water test | Clear water | Brown/black water |
| Grain shape | Angular | Rounded |
| Salt content | None | High in sea sand |
| Weight | Heavier | Light/fluffy |
| Smell | Neutral | Rotten/earthy |
Consequences of Using Bad Sand in Construction
Using poor-quality sand can cause:
1. Weak Concrete
Clay-coated sand prevents cement from bonding.
2. Cracks in Walls and Plaster
Silt-rich sand shrinks and expands excessively.
3. High Cement Consumption
More cement required to compensate for impurities.
4. Dampness and Water Seepage
Organic matter and clay retain moisture.
5. Corrosion of Reinforcement
Salt destroys iron rods, causing structural collapse.
6. Reduced Lifespan of the Building
A building that should last 50 years may fail in 10.
Best Types of Sand for Construction
1. Sharp Sand
Best for concrete, foundations, and structural work.
2. Clean River Sand
Perfect for plastering and blockwork.
3. Stone Dust (Crushed Sand)
Ideal for block molding when washed properly.
4. Washed Pit Sand
Useful when impurities are removed.
Practical Tips to Buy Good Sand on Site
-
Always do a bottle test before paying.
-
Avoid dark or sticky sand.
-
Buy from a reliable sand supplier.
-
Compare samples from different trucks.
-
Check moisture content during the rainy season.
-
Never use sea sand directly.
-
For plastering, choose cleaner and finer sand.
Conclusion
Identifying good sand for construction is simple if you know what to look for. Using the tests above — color, texture, bottle test, salt test, weight test, and grain shape examination — you can easily decide whether the sand is suitable for concrete, block molding, or plastering.
The strength of any building depends on the foundation of its materials. Good sand ensures safety, durability, and long-term performance.
